
A2 Media Coursework

PRACTICE (15th September)
I decided to do some test shots to practise using the camera and taking photos that look good in black and white. I also wanted to try to edit them afterwards as I wanted to change them to black in white myself in post production, as this would give me greater control over the images. I was going to look at the settings I used and the lighting that worked best and then apply this to the moving image work I would do for my short film.
The first thing I had practise with was the new tripods our school had bought. I previously had not used these and took a lot of fiddling to work out how they worked. They were very transportable and they compacted down small. This would be useful when travelling to locations and storing equipment. The fact they could fold so small was also a disadvantage in the way that they needed a lot of things to be extended to be used properly. After some practise I figured out what did what and how to get the camera to the position I wanted it to be in.
I only used one light and this created slight problems because I was the only one on set apart from my model. If I do not get other people to help I will have the same problem in my real shoot as there are only two people in our team. Beth, the other member is acting for us, which leaves me doing everything else. It would be very useful for me to get someone to help me on set in the real thing. I would need them to help with equipment and to hold lights and reflection boards. This would improve the quality of our cinematography by a great deal. I would also want to use a back light in our real shots as I think this can make a huge difference and make our production more professional. It would help frame the characters more.
I tried many different lighting styles, I shone it above and below the model as well as from the side. I also bounced it off the wall to create a fill light. I found this experimentation very useful as it opened my eyes to the plethora of different lighting opportunities, each one more suited to different circumstances.
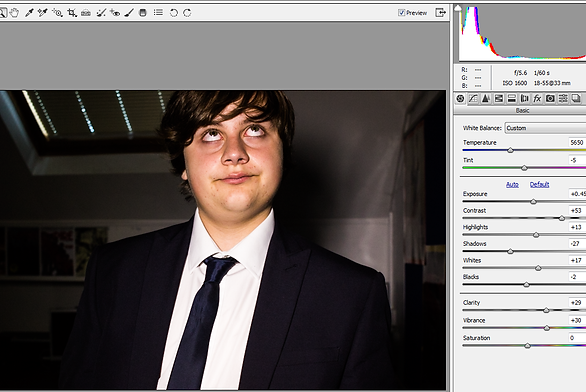
I also had some first hand experience of setting up the camera to get my desired effect. I changed my camera’s mode to manual so I could have more control over what my image looked like. I adjusted the ISO and especially played around with the shutter speed, creating a ghostly blurred effect look. This is something we want to emanate in our production, but it may be something we have to do in post production.
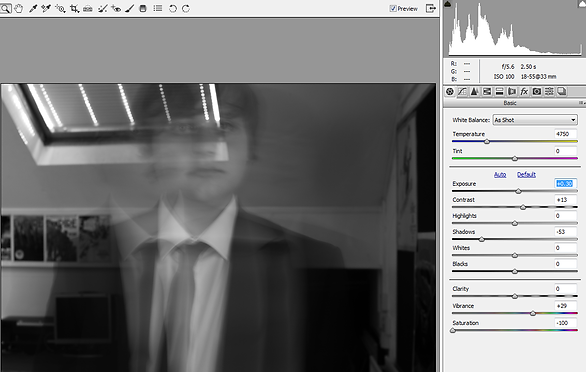


Saturation is -100 so there isn't any colour
Saturation is 0 so it is the coloured version of the previous picture
I still adjusted the contrast, I also make the shadows darker and the whites whiter to make the shadows and highlights more striking
Long Shutter Speed creates a ghostly blur effect
Saturation is -100 so there isn't any colour
More high key lighting, light is placed in front of model to the left at eye level, medium brightness
A back light would help frame his shape more, because of how dark his suit is it disappears into the background. A back light would fix this by making the edges of his suit lighter.
Dimmer lighting means that there is more of a range of greys in is face, more professional looking
Dimmer lighting makes his suit blend into the back ground, a back light would have to be used here
The light is held more to the left of his face creating more of a contrast across his face
Saturation is -100 so there isn't any colour
PRACTICE (25th October)
 Bright Sun | 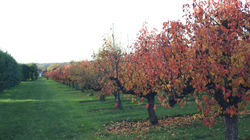 Autumn Colours | 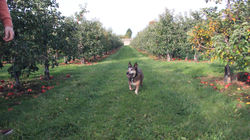 Happy Dog |
|---|---|---|
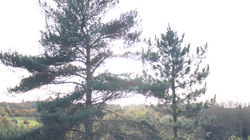 Slight Sun Flared Pines | 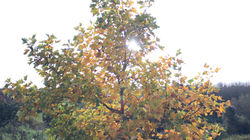 Light Through Green and Yellow | 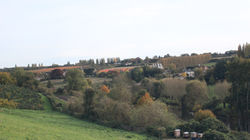 Red Fields in the Distance |
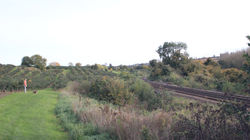 Railway |  Old WWII Bunker | 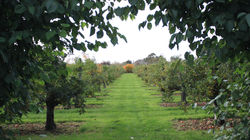 Leafy Frame |
I went out on a walk in the park to practise taking some photos and get used to using the camera. I mostly practised changed the ISO to suit the images I was taking as it was quite a sunny day and the ISO had a drastic impact. I also practised changing filters and what effects each one gave. I used CLP, ND8 and a UV filter. I tried the FLD filter but I found it too dramatic and it removed the green and blue that I enjoyed in the photos. I also practised the same things with moving image. I quickly put this together into a short example film, changing the colours of the shots to see what effect they gave and putting the abstract shots in a format that makes the most sense.
EDITING PRACTICE
I wanted to practise my editing skills and I decided to do this with some water imagery as it is something we want to include in our production. This means I could use these skills again in our production, or even potentially use my test editing. I designed it as something that could be overlayed over another image, creating a prison bar effect with the streams of water. In Adobe Premier I duplicated the stream of water and copied it four time, which worked well. However, when I then played these four streams, it was very obvious it was on stream that had been copied, as the water fell and moved in the same way in all of them. I solved this by speeding down or slowing up each stream to a degree, giving the effect the water is moving in different ways. A good by-product of this was that each stream of water ended at a different time, which I really liked. I then made the video seem more professiona; by changing the contrast, brightness and darkness to remove the grey background and make the water stand out more. It glistens and looks more attractive with the background darker and the reflections of light highlighted.
I also practised editing in optical flares, using two different stlyes in the video on the left of the street light. I practised moving the flare or parts of the flare further out or in to see what effects it gave. Another useful think I used was motion track to compensate for the movement of the camera. I thought that the first optical flare in the left video was better for a street light, but the second optical flare was more appropriate for a sun, which is why I then tried in in the montage I created on the left, where it was much more effective. This means that if we add an optical flare to the sun in our beach scene we are more likely to use the second optical flare. The montage also helped me practise general editing, using different transitions and practising colour correction.